Just a Little County

No matter if it is in the kitchen or the great outdoors, it's time to put a little country in our lives.

Monday, November 28, 2011

A Christmas Card

Now that Thanksgiving is over for yet another year, it's time to turn our attention to the Christmas Holiday.  Right now, it's a cold 37 degrees outside.  My house was clean for about a day and a half then we brought in the Christmas decorations.  I'm a bit overwhelmed as to where to put it all. :)  I am sure I'll find a place.
I decided to make my Christmas cards this year. It's not that I don't like the store bought kind.  They have some very nice, wonderful cards out there this year.  I just think that anything you make to give to someone is a bit more special, a bit more wonderful.  So, I got out my card stock, glitter pens, scissors, makers, ruler, etc and went on a creative spree.

Here is the list of materials:
Card stock in whatever theme, color, you like.  It doesn't have to be Christmas colors, either. 
Scissors
Craft Scissors
Ruler
Pencil
Glitter and glitter pens
Plain white card stock
Computer and a printer (or if you can write really pretty, omit this)
Ribbon is a coordinating color
Hole punch
White glue

Here we go.


 Gather all your materials.  These are the glitter glue pens I used.


Take your white card stock, load it in the printer. Using a pretty font, type in a message and use clip art and make a tag.
This is what it should look like.  It doesn't have to be perfect.  It's homemade and that is what makes it so special.
Next take you printed card stock and fold it in half. Make the crease sharp. Take your scissors and cut.


So that you have 2 pieces of paper


Next, fold the half in half.  Take your decorative craft scissors and cut the bottom edge. Take the tag you made and glue it to the front of the card. Punch a hold in the pointed in and tie a ribbon in the hole.  Take the glitter pens and go around the tag.  Put whatever message on the inside of the card.

This is the final product.  You could add little dots to the bottom of the card, or however you like.  That's what is so great about these, you can get as creative as  you like or make them as simple as you like.  You could use your punches to add extras as well.  Like I said, get creative with it.
There you have it. A homemade Christmas Card.  Simple, fun, creative.  I think the total cost for this card was around 4 bucks...for the glitter and glitter glue.  However, if you don't have the stuff, it may cost you a bit more.  For a country look, you could use brown paper bags.  That would be awesome!  If  you try this, please let me know and post pictures of yours.  I would love to see them.

Happy Creating.

Sunday, November 20, 2011

Happy Thanksgiving

http://www.turnbacktogod.com/thanksgiving-wallpapers/happy-thanksgiving-day/          
Happy Thanksgiving!  Yeah, I know it's a bit early, but, I have a very busy week ahead of me and wasn't sure I would get to the blog before Turkey Day.  With all the cleaning, homework (yes, I got homework), and the cooking, it's going to be a very busy week.  Thank God, I have my son here to help out. 
This last weekend was a wild one.  My husband's mother was admitted to the hospital due to a blockage in her gall bladder. And, our daughter was taken to the ER due to a shrinkage in her throat caused by food allergies.  Friday and Saturday was a very long day at the hospital, and I'm trying to get over this ear infection/bronchitis before this next weekend when we have our Thanksgiving.  Today, I began my house cleaning. 
Before heading to my bed, as I listen to the storms rolling in outside, I wanted to post what Thanksgiving means to me and my family.
Thanksgiving is a day to be, well, Thankful.  Thankful for the things we have.  Our health, homes, families, love.  It's a day to stop and reflect on the past year, to stop and really look at what we have.  For my family, we are all healthy, have homes, cars, food, the luxury items, clothing, Internet.  However, we also have something else.  We have each other. 
When my mother passed away, in 2008, my biggest fear was that the family would fall apart.  We haven't.  Yes, we have fought, not spoke to each other for days, disagreed, but we have laughed, cried, and been there for each other everyday.  We have each others back.  So, I am thankful for my family, my brothers and sisters.
I have, and it is true, two of the most wonderful kids on Earth.  I know I may be partial, but it's true.  They are great kids.  Yes, we disagree, we fight, we love.  My kids are my rock, they are what keeps me wanting to do more. They are the loves of my life.  So, I am thankful for my kids.
Then there are my 'babies'.  My four cats, Piper, Midnight, Gizmo, and Alley, and my three dogs, Molly, Dixie and Jack.  They bring me happiness.  Yes, most of my family think I have too many animals, but they 'talk' to me, and I to them.  I'd be lost if one of them weren't here under my feet or in the bed. I am thankful for my 'babies'.
My dad has Alzheimer's.  It's hard watching him go down hill.  It's hard to talk to him at times.  I remember the active, hard-working man he used to be.  I enjoy and cherish the time I have with him now more so than I have in the past.  He helped me when no one else would.  I was far from being "daddy's little girl" but he loved me the same as he did my brother and sisters.  I am thankful for a father that loved me and worked hard for his family and provided for us the things we needed (and wanted).
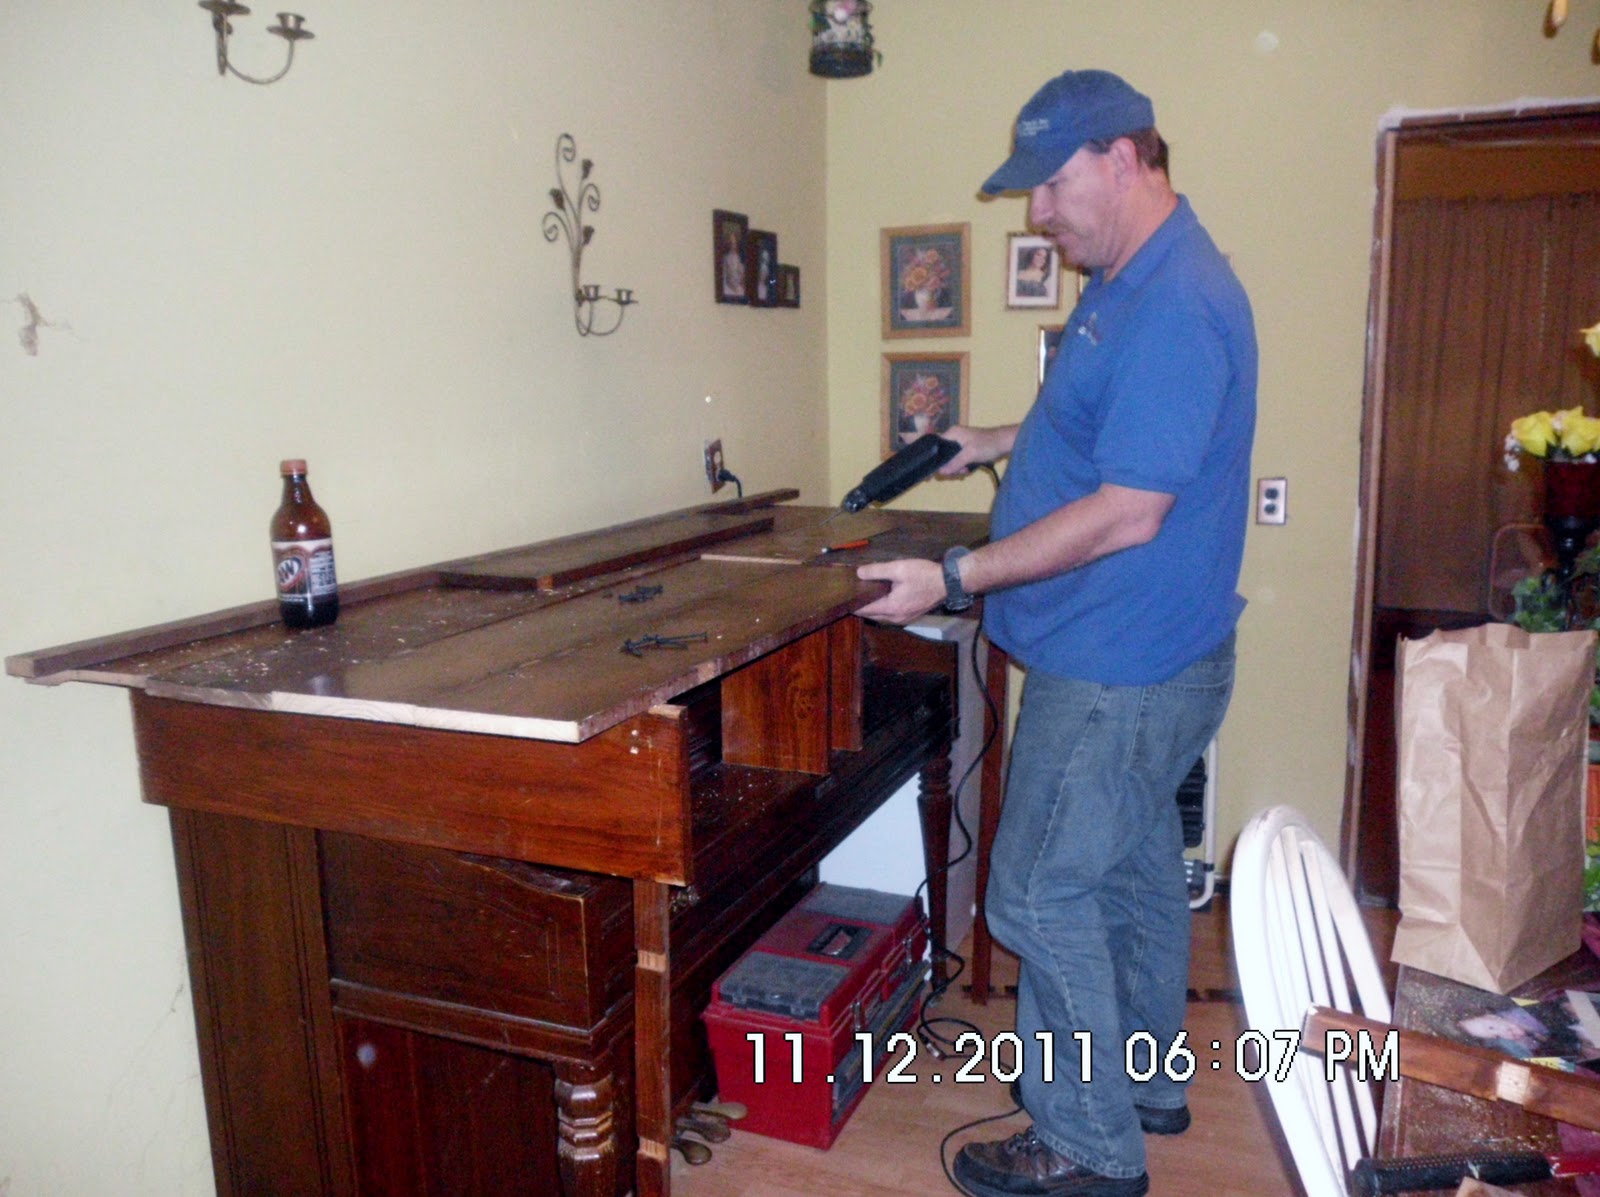
My husband, James, is probably, no, he is the best thing (second to my kids) that has ever happened to me.  I actually have my daughter to thank for pushing me to go out on a date with him in the first place.  Words cannot begin to express my feelings for him.  Yes, he aggravates me, yes, he does things that makes me wonder and scratch my head, yes, there are times I think that it would be better to be alone.  However, without him, I would be a complete and utter basket case.  He is my best friend, my biggest supporter, my greatest fan.  He knows when I'm about ready to explode, and he defuses the situation.  Even if that means he has to physically remove me from what is causing the problem.  He makes me laugh.  He is great to me.  He treats me like a queen. He works hard at home and on his job.  Even when he is exhausted, if I ask, he will.  He is unselfish, he is helpful.  He is trust-worthy and he is MINE!  I am thankful for my husband.
Last, and most importantly, I am thankful to my God.  Without Him, I would still be in the pit of hell.  God has loved me when I thought I was unlovable. He has provided all that I have. And, for that, I am thankful.

Take some time this week, before the rush of the holiday season, to just be still and allow your heart to talk to you.  Be thankful for all you have, give thanks to God for all you have.  Not just your home, car, clothes. But, for the unseen things in your life...family, friends, love. And, when it's time to dig into that turkey dinner, sit back for a minute, and just watch.  Cherish the memories you are making and have a Happy Thanksgiving.

Thursday, November 17, 2011

Chicken and Rice Casserole

Hi! Hope everyone is having a great today!  We have been passing the cold virus around the last week or so.  No one has really felt like doing anything, let alone, cook, craft or create anything.  However, today isn't too bad of a day.  I actually felt like doing a little cooking.  Normally, I would follow my mom's recipe for chicken and rice, but I'm using a different one today.  It's a little less involved.  And, with Thanksgiving next week, I really don't want to fill the fridge up with left-overs.

Sorry, though, no photos.  You will need:
1 package of boneless, skinless chicken breast
2-3 celery stalks
4-6 green onions (not just the green part, the whole onion)
1 can each, cream of mushroom and chicken soups
2 teaspoons of minced garlic (Because we LOVE garlic)
1 package of dry onion soup mix
1 1/2 cups of instant rice
1 full can of milk
salt and pepper to taste

Chop up the onion and celery, put in a 9x13 baking pan.  Mix together the cream soups, dry soup, rice, garlic and milk, set aside.  Take chicken and cut up into 1 inch pieces. Put into the baking dish, on top of celery and onions.  Salt and pepper to taste.  NOTE: Go light on the salt if you are using regular cream soups.  They are loaded with salt.  Take the rice, soup, milk mixture and place on top of the chicken.  Cover with foil and place in the refrigerator for about an hour.  After the ingredients have played with each other, place in a pre-heated oven set at 350 degrees. Let cook for an hour to an hour and a half, take foil off and cover with mozzarella cheese, place back into the oven until cheese is melted and bubbly.  Serve with broccoli and garlic bread.

Hopefully, tomorrow, I can post my homemade Christmas cards.  They are just too adorable.

Happy cooking!

Saturday, November 12, 2011

The Buffet

The other day, I got an idea.  As I was trying to figure out where we would put all the food everyone is making for Thanksgiving, it occurred to me, there is no place.  So, I looked around.  As I said, I got an idea. My wonderful husband could make a really, really big radiator cover to go over the piano.  So, I asked him about it.  His response was "there really was no reason why it could not happen.
So today, we got up. we went to our little barn and got some left over wood we had from a shelving unit we tore apart.  This is what we came up with.

We placed the longer board on top of the piano.  They are just sitting there...nothing was "attached" to the piano.

 The hubby measuring.  Isn't he just too cute??


The side are up


How are the side pieces attached?  The top two boards were screwed in with wood screws.  Nothing attached to the piano.  This will just slide right off when the holiday's are over.

 Putting more boards on top to extend the "buffet". 


 The legs and front side are up.  Again, nothing is screwed into the piano. 

Front view of the finished buffet.
I have one of my mother's lace table clothes that will go over the top with the matching red table runner from my daughter's wedding.  The center piece I made (the vase and candle) will go on top of it and the food around that.  I love the holidays.

Tuesday, November 8, 2011

Thanksgiving Centerpiece

So, as I have said, it's my year to host the Thanksgiving Day celebration.  I wanted to make a nice table centerpiece for the table that will easily be moved when lunch is served.  Now, I also have a piano in the dining room.  We are going to create a 'cover' of sorts to make a buffet type thing.  I am hoping we can get that done this weekend. I will post photos of it as we go along.
For now, I want to share my centerpiece idea.  It's not fancy.  It's rather simple.  But, man, it caused me a LOT of stress.  So here we go.

This is what I started with.    The flowers do not come off.  We tried sanding, scraping, nothing worked.  I tried painting it, paint came off.  I tried Distressed Ink, didn't stick.


 Here is the holder without the candle.
 I thought that wrapping it would be a good idea.  Hot glue does not stick to glass, no matter how much you sand it.  And, this was just too "Christmas-y" for Thanksgiving.
 So, when the hubby got home last night, I announced we HAD to go to WalMart!  I found these adorable votive candle holders for .60 cents each.  We got 4 of them.

 Aren't they just too adorable?


We strolled over to the Scrap book area and found these beautiful Fall leaves.  See how they sparkle?  These cost $2.00.


I already had these little Fall leaves in my stash of goodies at home.  FREE!


And here is the finished product.  I washed the holders in hot soapy water, dried them with a soft lint free towel, and just began sticking on the leaves in a random pattern.


 Another photo of the candle lite this time.

 So, I got a framed mirror that I had left over from my daughter's wedding, a cut vase and left over Fall flowers, and moss.  I put the moss in the vase, and added the flowers.  I put the vase, and the candle on the mirror. 


 The table runner is also from my daughter's wedding.  It's a deep red and goes great in the dinning room.  

The finished product.  Nothing fancy, rather simple.  But the impact is amazing in there!  Creating, crafting doesn't have to be fancy nor does it have to cost an arm and a leg.  The total cost for this, $4.81!  Use what you have.  When it's closer to Thanksgiving, I'll gather a few real leaves from outside and scatter around the table.

Have fun creating.

Saturday, November 5, 2011

My favortie cleaning product

In my posts, I have mentioned that my husband and I have been attempting to cut cost for our household.  I do not remember where I found the idea, if any of you know, please post the website.  When I told my sister about this, she thought I was insane.  However, the fact is it works.
Air Freshener: What I did is bought a spray bottle at the Dollar Store for a buck...1 dollar.  I bought a gallon of white vinegar...can't remember the amount, but it's cheap.  Then go to where the candle are and those little bottles of "smell good" stuff, the oils?  Find you favorite and buy it, 2 dollars.  When you get home, rinse out the bottle in hot soapy water.  Fill the bottle up about half to 3/4 full.  Add 1/2 cup of vinegar, and a few drops of the old.  Shake it up real good.  This makes a great air freshener.  The vinegar, once "dry" will go away, and you are left with the smell of the oil.
Floor Cleaner: You can do this same process for mopping the floors. Just add a little dish soap to your mop bucket, increase the vinegar to 1 cup and add about 1/2 teaspoon to the bucket, and mop away.  You would think the house would smell pickled from all the vinegar, but it doesn't.  It smell nice and clean.
Counter Cleaner: In a spray bottle, fill 3/4 full, add 1/2 cup of vinegar, dish soap and a drop or two of essential oil, shake and spray on the counters.  Wonderful.
The best part, you are not filling your home with harmful chemicals. 
Vinegar is a natural antibacterial solution.  So, it is a great thing to use, a little does the job. 
Another idea that I love is to use olive oil and lemon juice for furniture polish for REAL wood.  The WOW factor is amazing.  The oil replaces the oils that are lost, the lemon is an natural antibacterial solution.  Mix it up, rub on the wood and polish with a soft cloth.  You will be amazed.
And you thought I was gonna promote a new something or other to clean with?  Nope, all natural solutions for help clean your home.  And, it only cost pennies to do it.
Try it, you won't be disappointed.

Wednesday, November 2, 2011

Wacky Wednesday..trying new recipes

Hello everyone!  Today has been a really wacky day.  How?  Nothing has went wrong...so far. (Knock on wood)
I found a recipe the other day for homemade cinnamon rolls and I wanted to try it today.   Right now they are about 4 minutes from going into the oven!  They already smell divine! I also found this recipe and thought I would try it tonight. I added about 4 teaspoons of Worcestershire sauce when I mixed the soup mix and water.  It is in the pan, marinating, waiting to be cooked later.  I think some rice and tomato slices will go wonderful with this.
We are excepting some rain and much cooler temps for tonight and tomorrow, so I'm thinking chili should be on the menu for tomorrow.  I will share that recipe next week. :)
Have a happy today!

Tuesday, November 1, 2011

A Time to Cook, Craft and Create: What's new Tuesday

A Time to Cook, Craft and Create: What's new Tuesday

What's new Tuesday

I took a few days off because, well, it was Halloween, and it was the weekend.  I finished my class with an A, and began another one.  So far, so good.

So, Halloween has come and gone.  I dressed up my niece for the occasion.  She wanted to be a witch.  It was really easy to do the skirt.  I followed this tutorial and just made the stripes longer and added ribbon, lace, cheese cloth, etc.  It was fun and easy to make.  For her cape, I took 1/2 yards of material, turned over the edge, made cuts about 3 inches apart, unfold and weaved in some yarn and presto, a cape.  For her makeup:  I winged it.  I did buy some green face paint, and made some black paint using shortening, corn starch and black craft paint. We used orange hair spray and ratted the heck out of her long hair.  Take a look at the transformation...she is such the drama queen.


The final look...isn't she just frightening?  She had a blast trick or treating and Aunt 'Sheld had a blast fixing her up.
Until next time.